
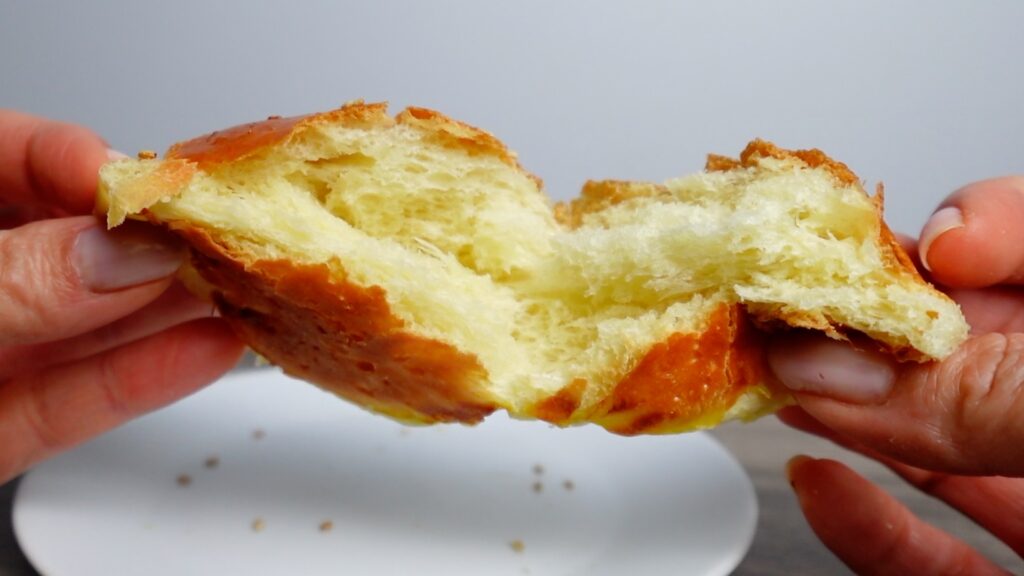
I’m so excited to finally share this recipe after months of testing – perfect slider buns. These fluffy, flavorful little buns are ideal for your favorite mini sandwiches or sliders. Once you make these at home, you’ll never want to return to store-bought buns again. If you are intimidated by working with yeast breads, do not fear! I promise, this is one of the easiest and most forgiving bread recipes to handle. Yes, it is easier and faster to go get the buns from the store, but it feels so great knowing that there are only clean ingredients in your home-baked breads. I think you’ll be pleasantly surprised how easy and fast these buns come together!
Mixing the Dough
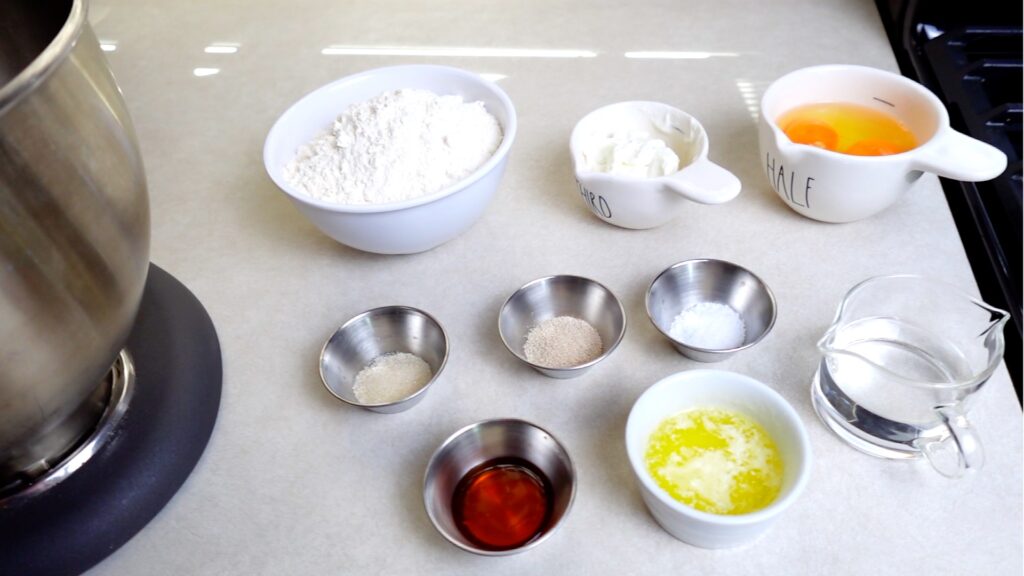
Start by combining water, sugar, honey, dry yeast, sour cream, eggs, bread flour, salt, and melted butter in a mixing bowl. Now, any avid bakers will tell you to first activate the yeast by combining the water and sugar in the bowl and sprinkling the dry yeast over the top and waiting for it to become frothy. While this step may be necessary if you’re not sure how old your yeast is, I tend to skip this step as long as the yeast hasn’t passed its expiration date. If you prefer, you can certainly activate the yeast first before adding the remaining ingredients. For me, I usually dump everything in the mixing bowl at once, and I’ve never failed once.


Kneading the Dough
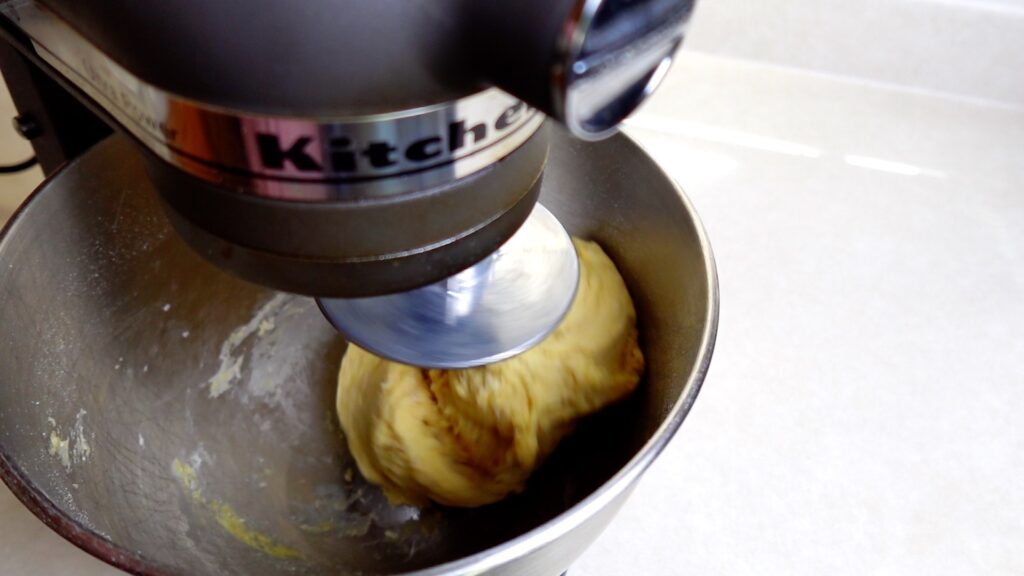
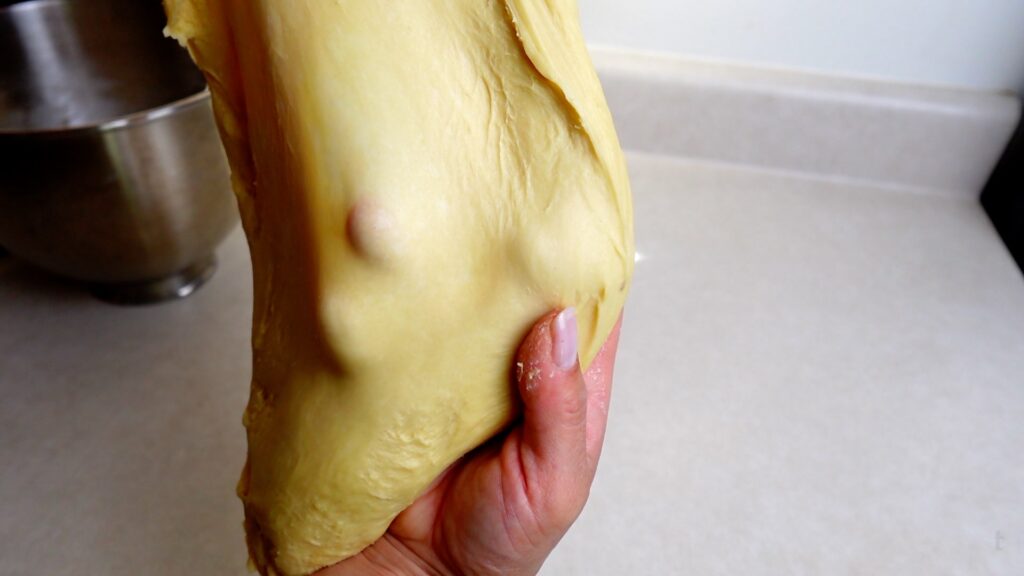
Knead the dough using a stand mixer or by hand until it’s smooth and elastic. You’ll know it’s ready when you can stretch it paper-thin without tearing. This step is crucial for developing the gluten structure, which gives the buns their fluffy texture.
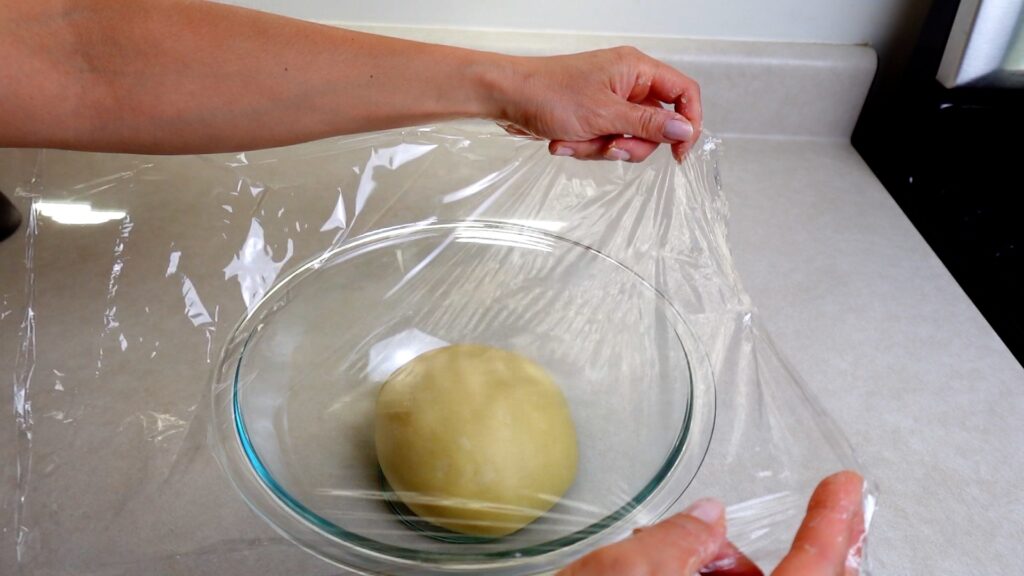
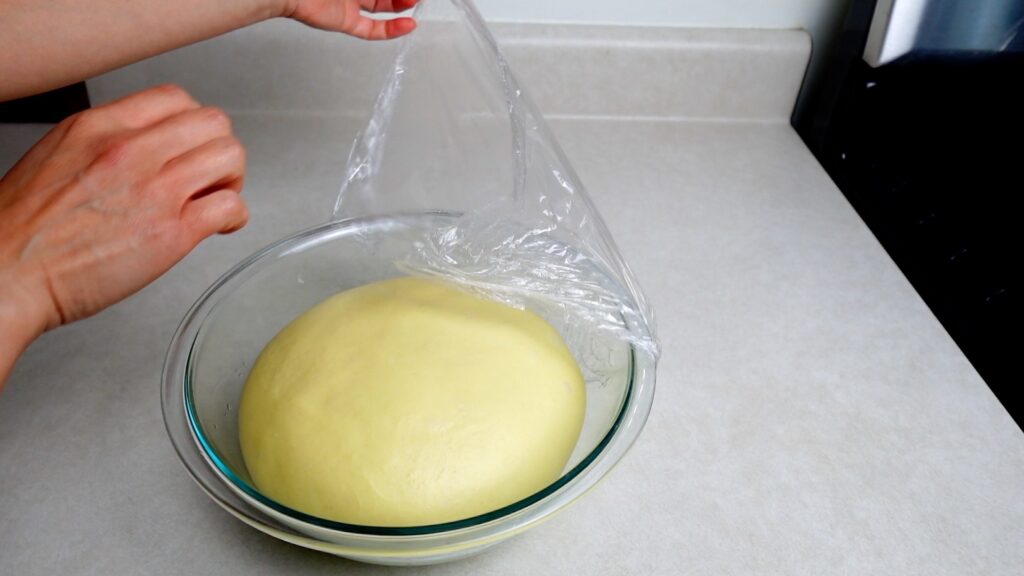
First Rise
Place your dough in a lightly oiled bowl, cover it with plastic wrap, and let it rise in a warm place for about an hour, or until it has doubled in size. This rise allows the dough to develop its flavor and structure.
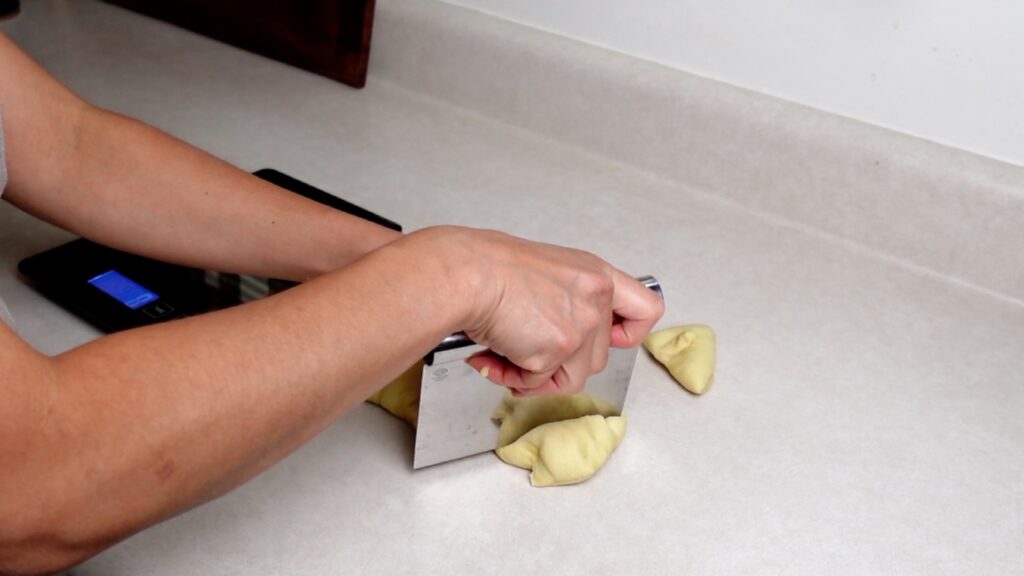
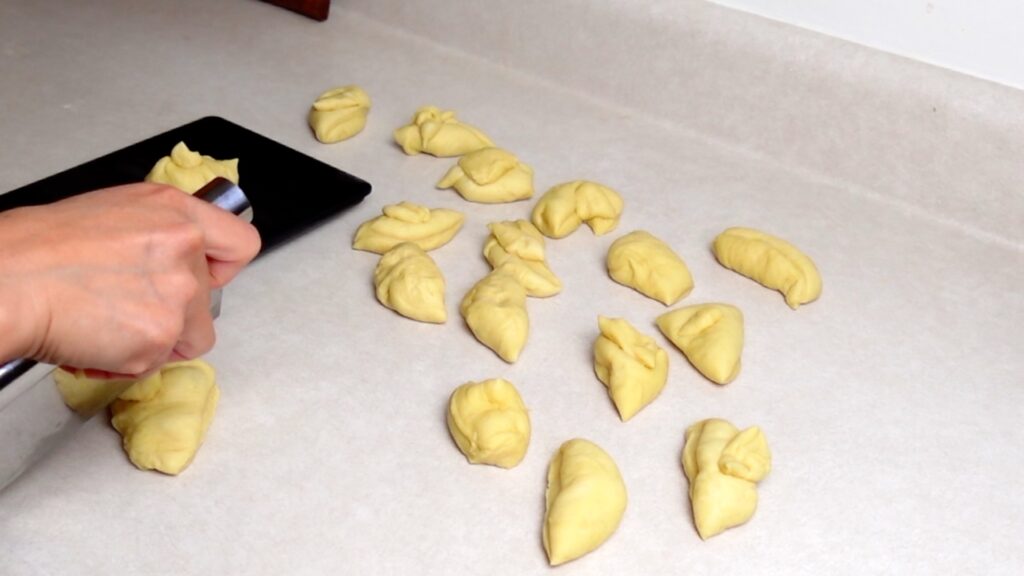
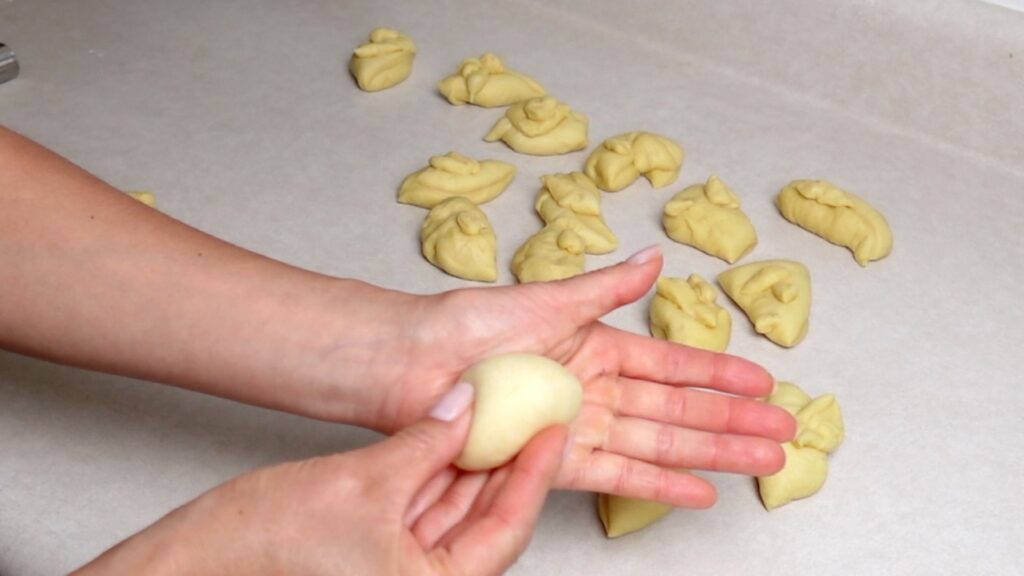
Shaping the Buns
Once the dough has risen, turn it out onto a clean work surface and divide it into 16-18 equal pieces, about 30 grams each. One reason I love this dough is that it doesn’t stick to my hands or the counter, even without bench flour. Shape each piece into a small ball by stretching, tucking, and rolling it on your palm to create surface tension on the top. This may take some practice, but it’s worth it for beautifully shaped buns. I recommend watching the tutorial video below.
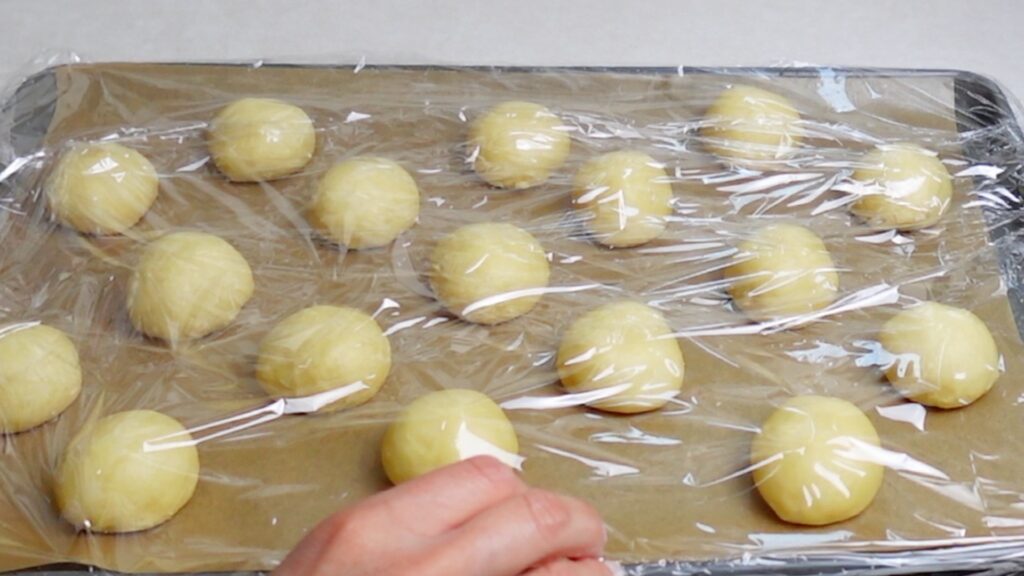
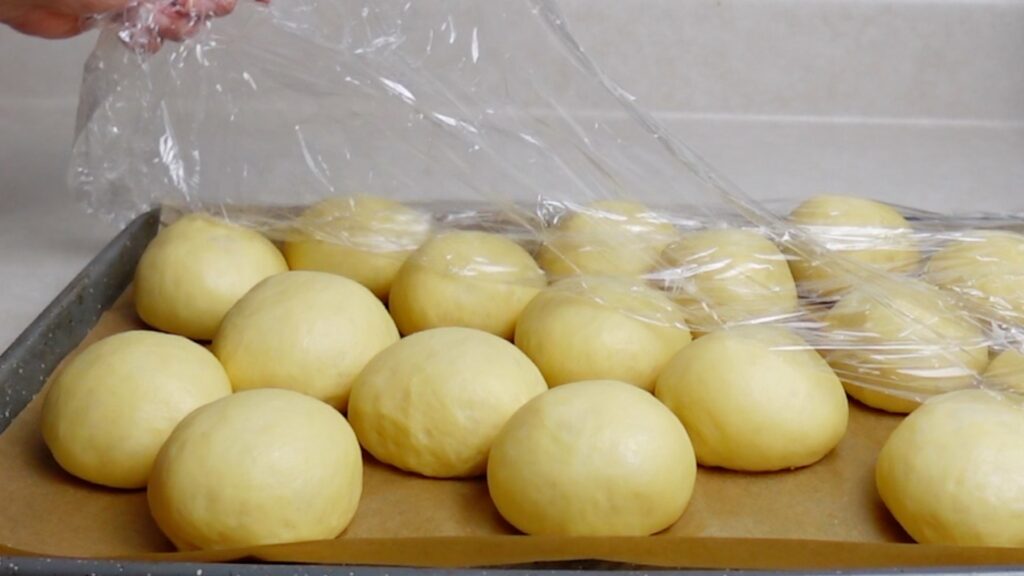
Second Rise
Place the dough balls on a baking sheet lined with parchment paper, spaced evenly apart. Cover them with a damp towel or plastic wrap, and let them rise again for about 30 minutes, or until they have puffed up nicely. This second rise gives the buns their final, airy texture.
Preheat the Oven
While the buns are rising, preheat your oven to 400 degrees Fahrenheit. This ensures the oven is hot and ready to bake the buns to perfection.
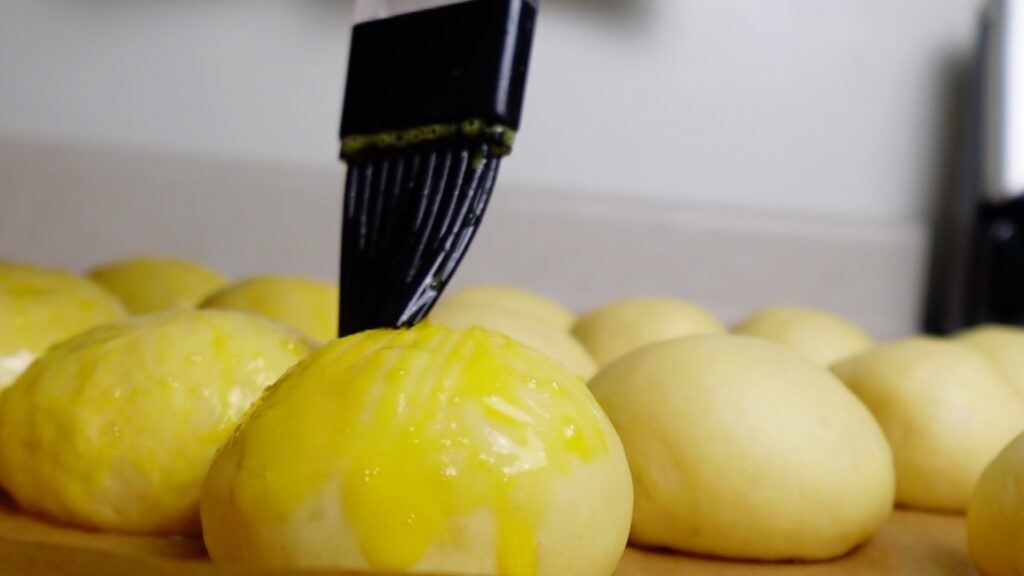
Preparing for Baking
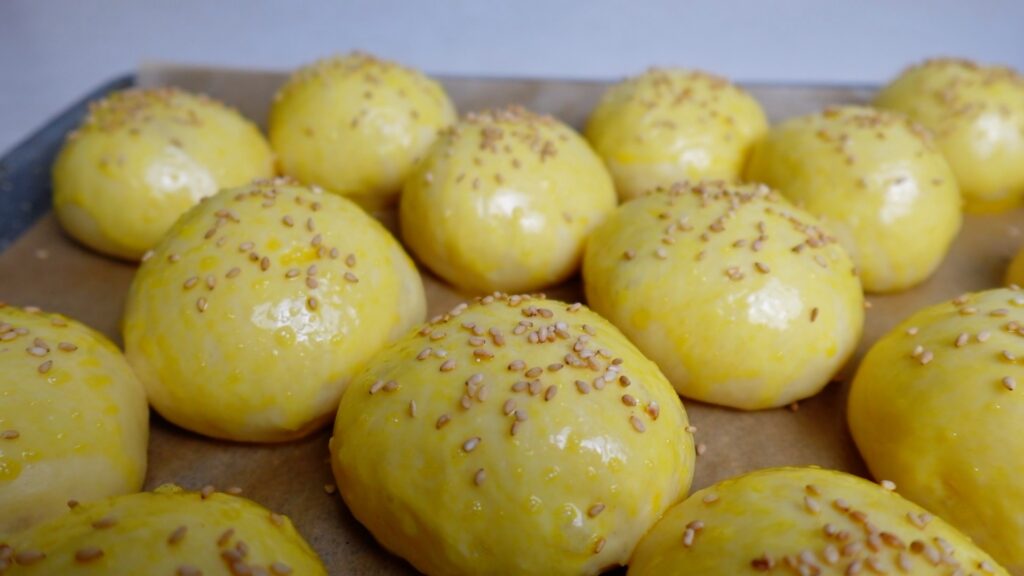
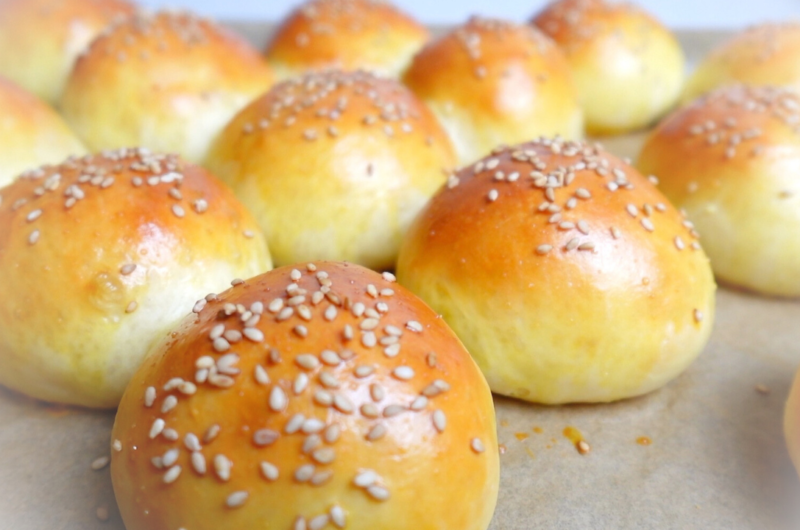
Once the buns have risen, brush the tops with an egg wash and sprinkle with sesame seeds, if desired. This step is optional but adds a lovely golden color and extra flavor.
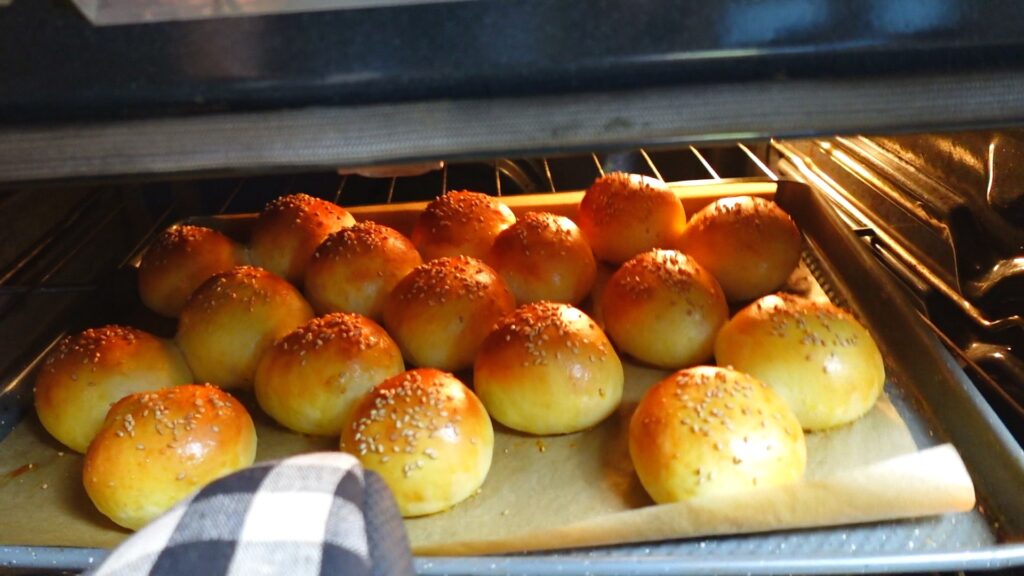
Baking the Buns
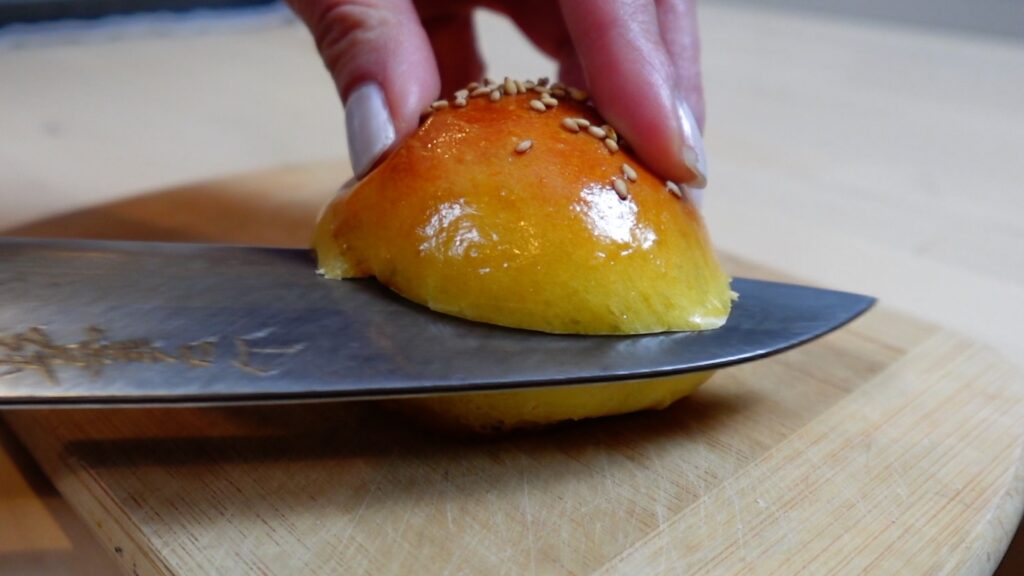
Bake the buns in your preheated oven for about 15 minutes, or until they are golden brown and sound hollow when tapped on the bottom. Transfer the buns to a cooling rack and let them cool completely before slicing.
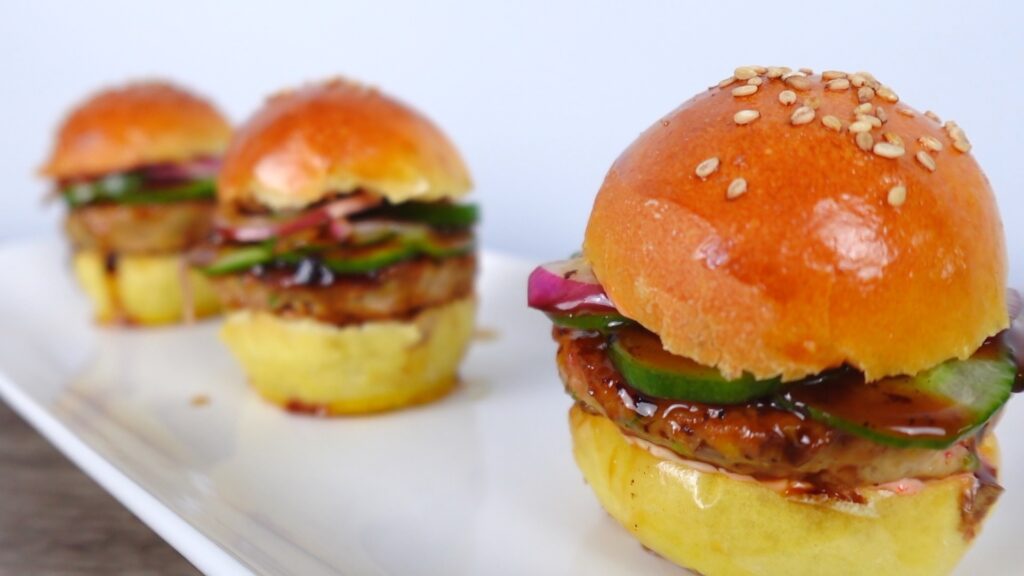
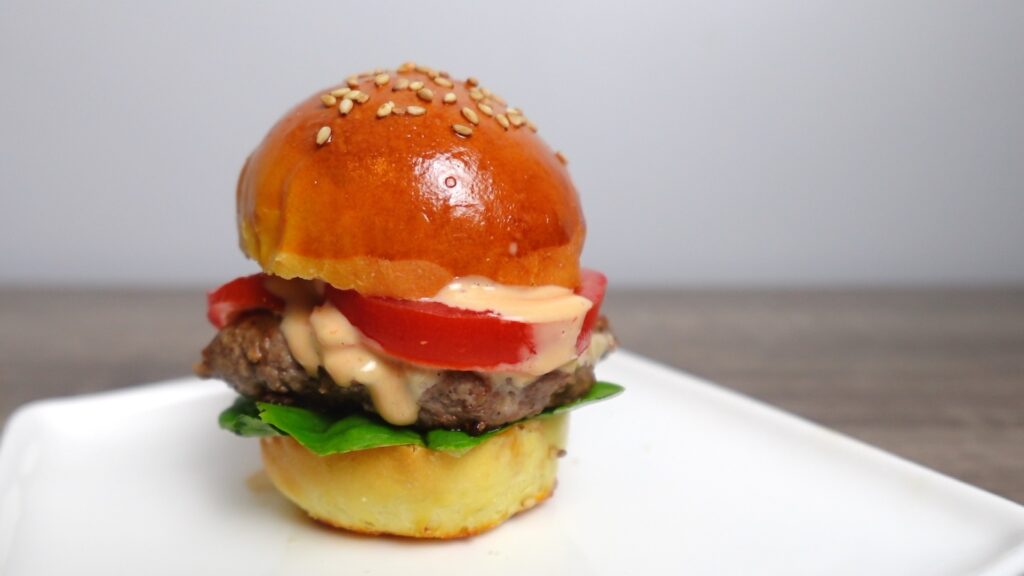
These slider buns are perfect for any type of mini sandwich, from classic burgers to pulled pork to cheesesteaks or egg salad sandwiches. And if you haven’t tried my Teriyaki Turkey sliders, now is the perfect time to give them a go.


I hope you’ll enjoy making these ultimate slider buns. They’re sure to become a favorite in your household. Happy baking!

Best Slider or Sandwich Buns
Course: Breads/Baking18
Buns3
hoursIngredients
60g Warm Water (not boiling! warm to the touch)
5g Sugar
15g Honey
5g Dry Yeast
60g Sour Cream or Greek Yogurt
2 Medium Eggs (about 55-60g each)
300g Bread Flour
6g Salt
30g Melted (and cooled) Butter or Oil
- Optional
1 Egg for the egg wash
Sesame Seeds for the top
Directions
- Combine all ingredients in a mixing bowl: warm water, sugar, honey, dry yeast, sour cream, eggs, bread flour, salt, and melted butter. If you prefer to activate the yeast first (especially if you are not sure how fresh your yeast is), combine the water and sugar in the bowl, sprinkle the dry yeast over the top, and wait for it to become frothy (about 5-10 minutes) before adding the remaining ingredients. Knead the dough using a stand mixer or by hand about 10-12 minutes until it’s smooth and elastic, and can be stretched paper thin without tearing.
- Place the dough in a lightly oiled bowl, cover with plastic wrap, and let it rise in a warm place for about an hour, or until it has doubled in size.
- Turn the risen dough out onto a clean work surface and divide it into 16-18 equal pieces, about 30 grams each. Shape each piece into a small ball by stretching, tucking, and rolling it on your palm to create surface tension on the top.
- Place the dough balls on a baking sheet lined with parchment paper, spaced evenly apart. Cover them with a damp towel or plastic wrap, and let them rise again for about 30 minutes, or until they have puffed up nicely.
- Preheat your oven to 400 degrees Fahrenheit while the buns are rising.
- Once the buns have risen, brush the tops with an egg wash and sprinkle with sesame seeds, if desired.
- Bake the buns in the preheated oven for about 15 minutes, or until they are golden brown and sound hollow when tapped on the bottom.
- Transfer the buns to a cooling rack and let them cool completely before slicing. These slider buns are perfect for any type of mini sandwich, from classic burgers to pulled pork to cheese steaks or egg salad sandwiches. Enjoy!